Farberware Coffee Percolator Instructions: A Comprehensive Guide
Welcome! This guide provides detailed instructions for your Farberware coffee percolator, ensuring a consistently delicious brew. Learn about assembly, operation, cleaning, and troubleshooting for optimal performance.
Understanding Your Farberware Percolator
Farberware percolators represent a classic brewing method, celebrated for their robust flavor and enduring quality. Unlike drip coffee makers, percolators repeatedly cycle boiling or hot water through coffee grounds, resulting in a bolder, more intense taste. Understanding this process is key to mastering your Farberware appliance.
These percolators aren’t simply about brewing coffee; they’re about a ritual; The visible bubbling action and the aroma filling your kitchen contribute to a unique coffee experience. However, achieving the perfect cup requires a grasp of how the percolator functions. The core principle involves heating water in the base, which then rises through a tube and showers over the coffee grounds held in a basket.
This cycle repeats, continuously extracting flavor until the desired strength is reached. Different models exist, from stovetop versions requiring careful heat management to electric percolators offering automated convenience. Familiarizing yourself with your specific model’s features, as outlined in its manual, is crucial. Knowing the components and their roles will empower you to brew consistently excellent coffee, avoiding common pitfalls like over-extraction or weak brews.
Identifying the Parts
A typical Farberware percolator consists of several key components working in harmony. The pot itself, usually stainless steel, forms the base and water reservoir. Inside, you’ll find the pump tube, a central column directing water upwards. Crucially, there’s the coffee basket, a perforated container holding the grounds, and the percolator stem, which distributes hot water over the coffee.
Many models include a lid with a clear knob for observing the brewing process – watching the coffee “percolate” is part of the experience! Electric models feature a heating element integrated into the base, while stovetop versions rely on external heat. Some percolators have a filter disc within the basket to prevent grounds from escaping into the brewed coffee.
Understanding each part’s function is vital for proper assembly and cleaning. The pump tube must be securely seated, and the basket correctly positioned to ensure efficient water circulation. Familiarize yourself with the location of any markings indicating water level guidelines. Knowing these parts allows for effective troubleshooting and maintenance, extending the life of your classic Farberware percolator.
Assembling the Percolator
Begin by ensuring all parts are clean and dry before assembly. Place the pump tube firmly into the center of the percolator pot, ensuring a secure fit – this is crucial for proper water circulation. Next, insert the percolator stem into the top of the pump tube; it should slide in easily. Then, carefully position the coffee basket over the stem, making sure it sits level and is properly aligned with the pot’s interior.
For stovetop models, simply place the lid on the pot. Electric percolators require connecting the pot to the base, ensuring it clicks into place. Double-check that all components are correctly seated to prevent leaks or uneven brewing. A properly assembled percolator will allow water to flow freely through the pump tube, saturate the coffee grounds, and return brewed coffee to the pot.
Before adding coffee or water, a quick visual inspection confirms correct assembly. A loose pump tube or improperly seated basket can lead to a weak or messy brew. Taking these moments ensures a smooth and enjoyable coffee-making experience with your Farberware percolator.
Preparing the Coffee Grounds
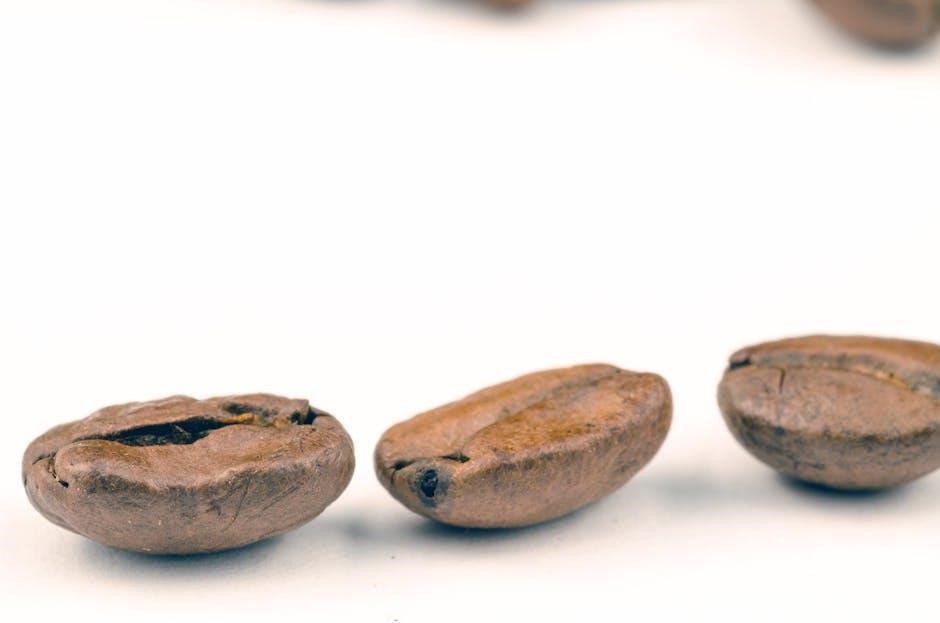
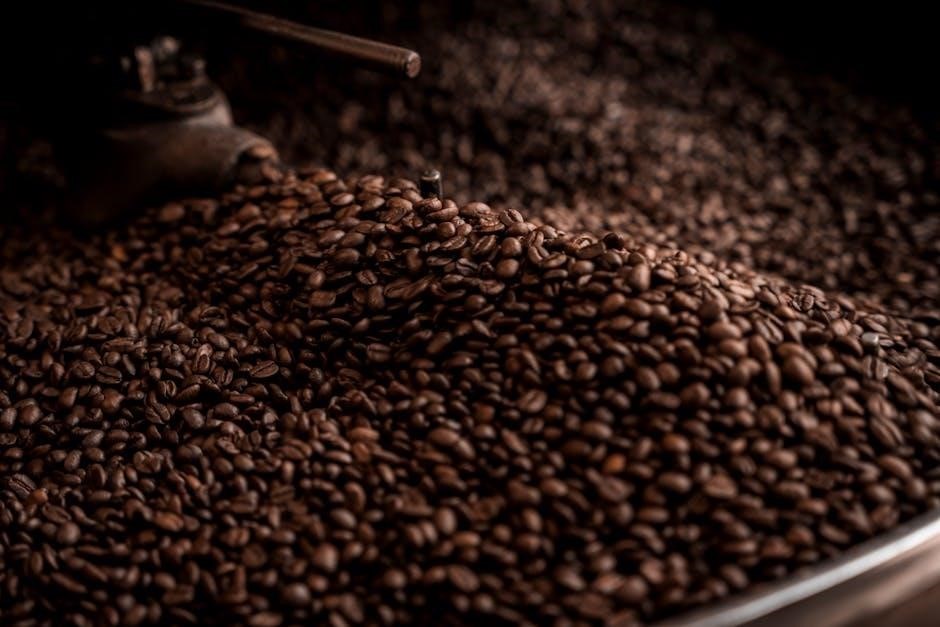
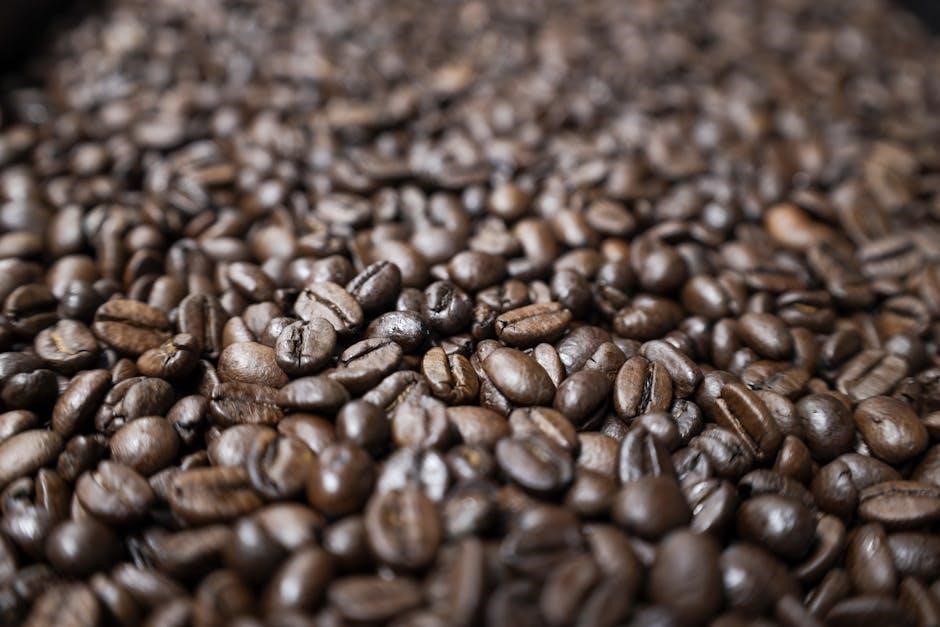
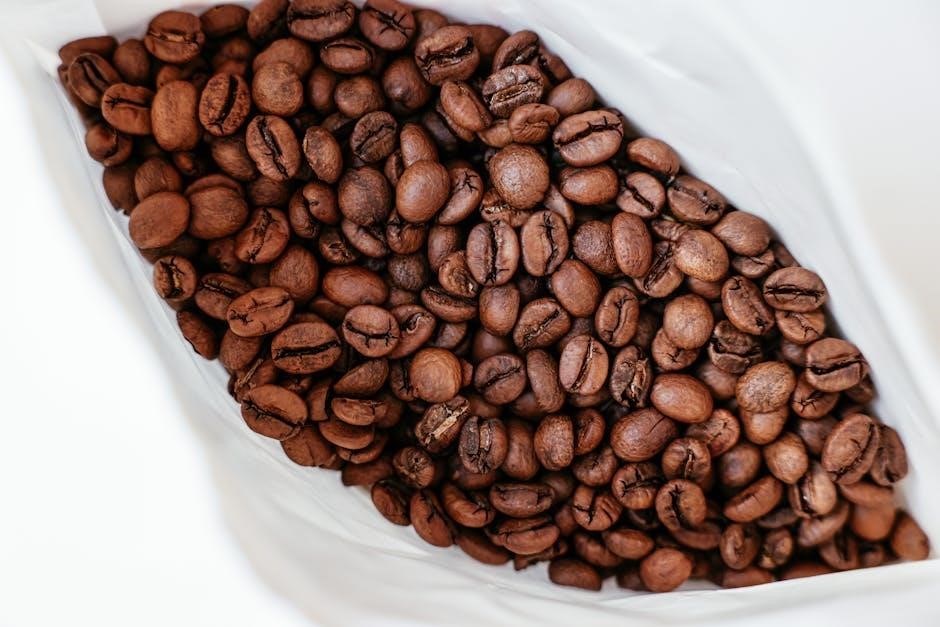
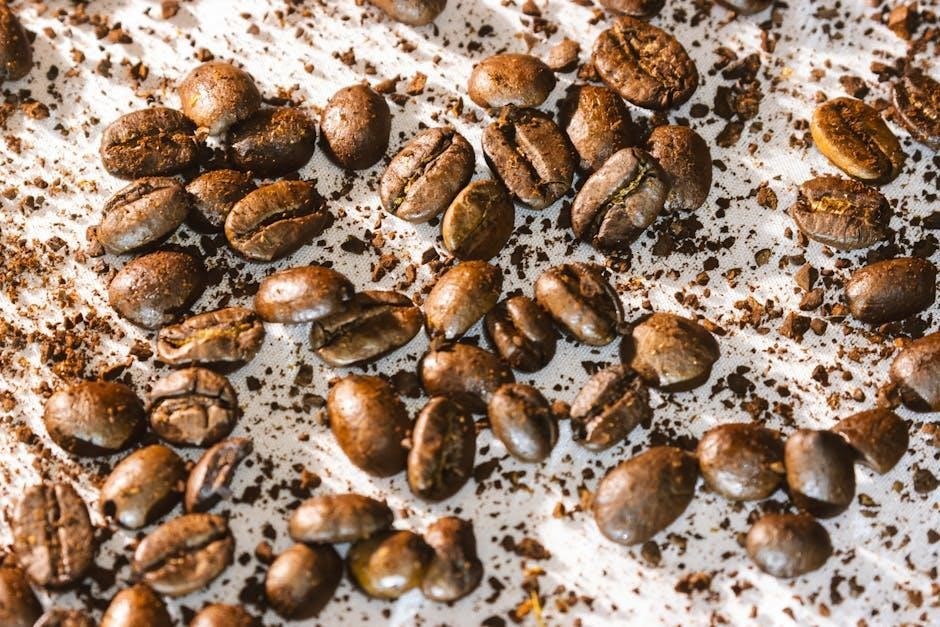
The quality of your coffee significantly impacts the final brew, so selecting the right grind is essential. For a Farberware percolator, a coarse grind is highly recommended. Finer grinds can seep through the basket and result in a muddy, over-extracted coffee. Coarse grounds allow for optimal water flow and prevent clogging within the percolator’s system.
Measure the desired amount of coffee grounds based on your preferred strength. A general guideline is one to two tablespoons of coffee per six ounces of water, but adjust to your taste. Place the measured grounds loosely into the coffee basket; do not pack them down, as this restricts water circulation. Even distribution ensures consistent extraction.
Freshly ground beans are always best, offering superior flavor and aroma. However, pre-ground coffee can be used if stored properly in an airtight container. Avoid using old or stale coffee, as it will produce a flat and unappealing brew. Proper preparation of the coffee grounds is a foundational step towards a perfect percolated cup.
Water Level Guidelines
Determining the correct water level is crucial for successful coffee percolation. Farberware percolators typically feature markings inside the pot indicating water capacity. Never fill the percolator above the maximum fill line, as this can cause overflow during the brewing process and potentially create a safety hazard.
To calculate the appropriate amount of water, consider the number of cups you intend to brew. A standard cup is generally considered to be six fluid ounces. Refer to your percolator’s markings to determine the corresponding water level for your desired quantity. Start with a 1:1 ratio of water to coffee, adjusting to taste.
Using distilled or filtered water is recommended to minimize mineral buildup within the percolator and improve the coffee’s flavor. Avoid using softened water, as the sodium content can affect the taste. Ensure the water is cool or room temperature before adding it to the percolator; hot water can scorch the coffee grounds and result in a bitter brew.
The Percolating Process: Step-by-Step
Begin by ensuring the percolator is correctly assembled with the tube in place, extending from the pump to just above the coffee basket. Add the desired amount of coffee grounds to the basket – a medium grind is generally best. Carefully pour the measured water into the percolator pot, adhering to the water level guidelines.
Secure the lid tightly. Place the percolator on a stovetop burner set to medium heat. Avoid high heat, as this can lead to scorching and a bitter taste. As the water heats, it will travel up the tube and shower over the coffee grounds. This process repeats, creating the characteristic percolating sound.
Monitor the percolation through the glass knob on the lid. Initially, the liquid will be dark and strong. As it continues, the color will lighten, indicating the coffee is nearing completion. Adjust the heat as needed to maintain a steady, but not vigorous, percolation. Once the desired strength is achieved, remove the percolator from the heat.
Heat Source Considerations (Stovetop vs. Electric)
Farberware percolators are traditionally designed for stovetop use, offering excellent heat control. When using a stovetop, a medium heat setting is crucial to prevent scorching and ensure even extraction. Gas stoves require careful adjustment to avoid hotspots, while electric coils provide more consistent heat distribution.
Electric percolators, while less common, offer convenience and automatic shut-off features. These models typically have a built-in heating element and require only water and coffee grounds. However, they often provide less control over the brewing process compared to stovetop versions.
Regardless of the heat source, monitoring the percolation is key. Stovetop users should adjust the burner as needed, while electric percolator users should rely on the machine’s cycle. Be mindful of the material of your stovetop; some surfaces may require a heat diffuser for optimal performance. Always prioritize safety and follow the manufacturer’s guidelines for your specific model.
Percolation Time & Strength Control
Achieving your desired coffee strength with a Farberware percolator involves carefully managing both time and grind size. A shorter percolation time generally results in a milder brew, while longer times yield a stronger, bolder flavor. However, excessive percolation can lead to bitterness due to over-extraction.
Typically, a percolation cycle of 6-8 minutes is a good starting point. Observe the glass knob on the lid; the frequency of bubbling indicates the brewing stage. Once the liquid becomes consistently clear and the bubbling slows, the percolation is complete.
Grind size plays a vital role. A medium-coarse grind is recommended for percolators. Finer grinds can clog the filter basket and result in a muddy, over-extracted brew. Experiment with slightly coarser or finer grinds to fine-tune the strength to your preference. Remember to adjust the heat source accordingly to maintain a consistent percolation rate.
Cleaning and Maintenance
Regular cleaning is crucial for maintaining the performance and longevity of your Farberware coffee percolator. After each use, promptly disassemble the unit and wash all removable parts – the basket, stem, and lid – with warm, soapy water. Avoid abrasive cleaners, as they can damage the finish.
The pot itself can be washed similarly, but avoid harsh scouring pads. For stubborn coffee stains, a paste of baking soda and water can be effective. Rinse all components thoroughly to remove any soap residue. Ensure the stem and basket are completely clear of obstructions before reassembling.
Periodic deep cleaning is also recommended. To address mineral buildup, fill the percolator with a solution of equal parts water and white vinegar. Run a full percolation cycle (without coffee grounds), then rinse thoroughly with fresh water several times. This helps dissolve mineral deposits and ensures optimal brewing.
Disassembling for Cleaning
Proper disassembly is key to a thorough cleaning of your Farberware percolator. Begin by ensuring the unit is cool to the touch. Carefully remove the lid, setting it aside. Next, lift out the basket – this holds the coffee grounds during brewing. Beneath the basket, you’ll find the stem, a crucial component for the percolation process; gently pull this straight up and out.
Inspect each part as you remove it, checking for any lingering coffee grounds or residue. The glass knob on the lid can usually be removed for separate cleaning, though some models have fixed knobs. Pay close attention to the small holes in the basket and stem, as these can easily become clogged.
Handle the glass components with care to avoid breakage. A methodical approach to disassembly ensures all parts are accessible for effective cleaning, preventing buildup and maintaining optimal performance. Remember the order of removal for easy reassembly later!
Dealing with Coffee Residue & Stains
Coffee residue and stains are inevitable with percolator use, but manageable with the right approach. For light residue, warm soapy water and a non-abrasive sponge are usually sufficient. However, stubborn stains require a bit more effort. A paste of baking soda and water can effectively lift discoloration from stainless steel surfaces.
For the interior of the percolator, a solution of equal parts water and white vinegar is excellent. Fill the pot with this mixture, bring it to a gentle simmer for several minutes, then let it sit before rinsing thoroughly. This helps dissolve mineral deposits and coffee oils contributing to staining.
Avoid harsh abrasives like steel wool, as they can scratch the finish. For the basket and stem, a small brush can reach those tricky areas. Regular cleaning prevents buildup, making future stain removal easier. Prompt attention to spills also minimizes lasting marks.
Troubleshooting Common Issues
Weak coffee often indicates insufficient grounds or too much water. Adjust the coffee-to-water ratio, ensuring you’re using a medium grind. Slow percolation can stem from mineral buildup restricting water flow. Regular cleaning with a vinegar solution, as detailed previously, is crucial.
If coffee overflows, reduce the water level or ensure the heat isn’t excessively high. A loose-fitting lid can also cause this. Conversely, if the percolator isn’t percolating at all, verify the stem is correctly assembled and not clogged. Check the heat source is adequate.
Bitter coffee might result from over-percolation or stale grounds. Shorten the brewing time and use fresh coffee. A rattling noise usually means the basket isn’t seated properly. Ensure it’s firmly in place. Always prioritize safety; discontinue use if you notice any damage to the pot or components.
Preventing Mineral Buildup
Regular cleaning is paramount in preventing mineral buildup within your Farberware percolator. Hard water contains minerals that deposit over time, hindering performance and affecting coffee flavor. A monthly deep clean is highly recommended, even with frequent use;
The most effective method involves a solution of equal parts white vinegar and water. Fill the percolator with this mixture and run a full percolation cycle without coffee grounds. Afterwards, rinse thoroughly with fresh water, repeating until the vinegar smell dissipates completely.
For minor buildup, a daily rinse with hot water after each use can significantly slow mineral accumulation. Avoid abrasive cleaners, as they can damage the finish. Consider using filtered water if your tap water is particularly hard. Consistent preventative measures are far easier than tackling severe buildup later, ensuring a longer lifespan for your percolator and consistently delicious coffee.
Safety Precautions
Always exercise caution when operating your Farberware coffee percolator. The unit becomes extremely hot during use, presenting a burn hazard. Utilize oven mitts or pot holders when handling the percolator, lid, and stem – even after the unit is turned off.
Never leave a percolator unattended while in operation. Ensure the lid is securely in place during the brewing process to prevent hot coffee and steam from escaping. Avoid overfilling the water chamber, as this can cause spills and potential burns.
Inspect the power cord (if applicable for electric models) regularly for damage. Do not use the percolator if the cord is frayed or damaged. Keep the percolator away from flammable materials. Allow the unit to cool completely before disassembling for cleaning. Children should be supervised when the percolator is in use or nearby. Prioritizing these safety measures ensures a pleasant and hazard-free coffee brewing experience.
Farberware Percolator History & Models
Farberware’s legacy in American kitchens began in 1900, with the introduction of their iconic stainless steel cookware. The Farberware coffee percolator quickly became a staple, renowned for its durability and ability to brew flavorful coffee. Early models, often featuring a distinctive curved handle, were primarily stovetop versions.
Over the decades, Farberware expanded its percolator line to include electric models, offering convenience and consistent brewing temperatures. Various sizes were produced, catering to different household needs – from individual servings to large gatherings. The classic “Coffee Pearl” design, with its polished finish, remains highly collectible.
While percolators experienced a decline in popularity with the rise of drip coffee makers, Farberware continued to produce them. Today, vintage and newer Farberware percolators are experiencing a resurgence, appreciated for their retro charm and the rich, bold coffee they deliver. Identifying your model’s specific features is key to proper use and maintenance.