Husqvarna Sewing Machine Instruction Manual: A Comprehensive Guide
Discover detailed guidance for your Husqvarna machine, encompassing user manuals, serger information, service resources, and getting-started instructions for optimal sewing experiences.
Welcome to the world of Husqvarna sewing machines, renowned for their durability, innovation, and precision engineering. This guide serves as your comprehensive resource for understanding and operating these exceptional machines. Husqvarna Viking, a prominent name in the sewing industry, offers a diverse range of machines catering to all skill levels – from beginners embarking on their sewing journey to seasoned professionals tackling complex projects.
Whether you own a classic mechanical model or a cutting-edge computerized machine, this manual will equip you with the knowledge to unlock its full potential. Explore detailed instructions, troubleshooting tips, and maintenance advice to ensure years of reliable performance. Resources like the Huskylock 700 serger manual and general service manuals are readily available, enhancing your sewing experience.
Historical Overview of Husqvarna Sewing Machine Company
Husqvarna’s journey began in 1686 as a Swedish arms manufacturer, evolving dramatically over centuries. The transition to producing sewing machines in the early 20th century marked a pivotal moment, showcasing their adaptability and engineering prowess. This diversification stemmed from a desire to utilize existing metalworking expertise in peacetime applications.
The company quickly gained recognition for its robust and reliable machines, becoming a household name in Scandinavia and beyond. Through strategic acquisitions, notably Viking Sewing Machines, Husqvarna Viking emerged as a global leader in the sewing and embroidery market. Today, access to resources like service manuals and user guides, including those for the Huskylock 700, demonstrates a continued commitment to supporting their extensive customer base and rich heritage.
Types of Husqvarna Sewing Machines
Husqvarna Viking offers a diverse range of sewing machines catering to various skill levels and project needs. Mechanical machines provide reliable, straightforward operation, ideal for beginners and essential tasks. Electronic models introduce enhanced features like automatic stitch selection and speed control, offering greater convenience.
For advanced users, computerized machines deliver sophisticated capabilities, including intricate embroidery designs and programmable stitch patterns. Resources like the Huskylock 700 serger user manual highlight specialized machines for finishing techniques. Understanding these distinctions, alongside available service manuals, empowers users to select the perfect Husqvarna machine for their creative endeavors and ensures optimal performance.
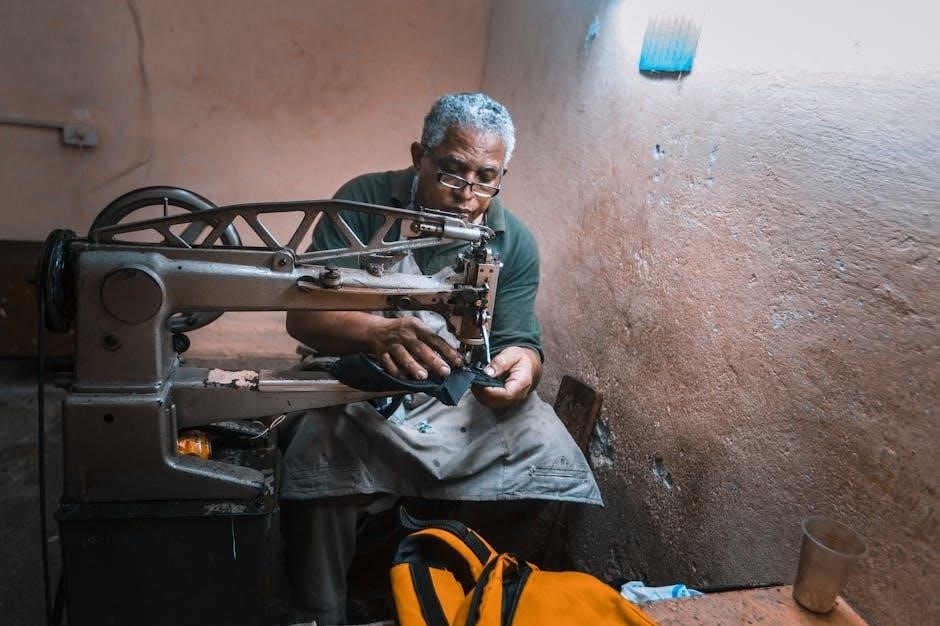
Mechanical Sewing Machines
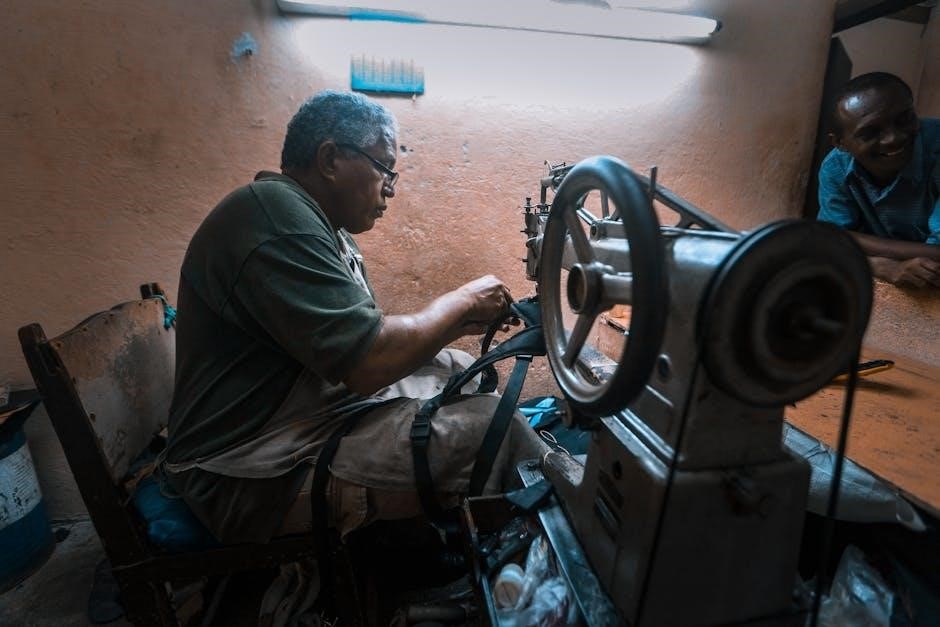
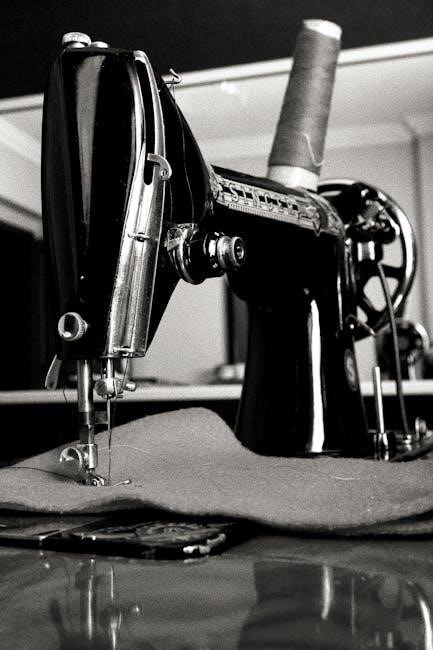
Husqvarna’s mechanical sewing machines represent a cornerstone of reliable sewing technology. These models prioritize simplicity and durability, making them excellent choices for beginners or those preferring a hands-on approach. Operation relies on direct mechanical linkages, offering precise control without electronic complexities.
Typically, these machines feature manually adjusted stitch settings and speed control, fostering a deeper understanding of the sewing process. While lacking the automated features of electronic or computerized models, their robust construction ensures longevity. Accessing relevant sections within a comprehensive Husqvarna Viking service manual can aid in understanding their mechanics and performing basic maintenance, ensuring years of dependable service.
Electronic Sewing Machines
Husqvarna’s electronic sewing machines bridge the gap between traditional mechanics and modern convenience. These models incorporate electronic components to streamline operations, offering features like push-button stitch selection and speed control. They retain a degree of manual control, appealing to sewers who desire a balance between automation and direct engagement.
Compared to mechanical machines, electronic Husqvarna models often include a wider range of stitch options and enhanced precision. Consulting a Husqvarna Viking user manual specific to your model is crucial for understanding its unique capabilities. These manuals detail electronic component functions and troubleshooting steps, maximizing your sewing experience and ensuring optimal performance.
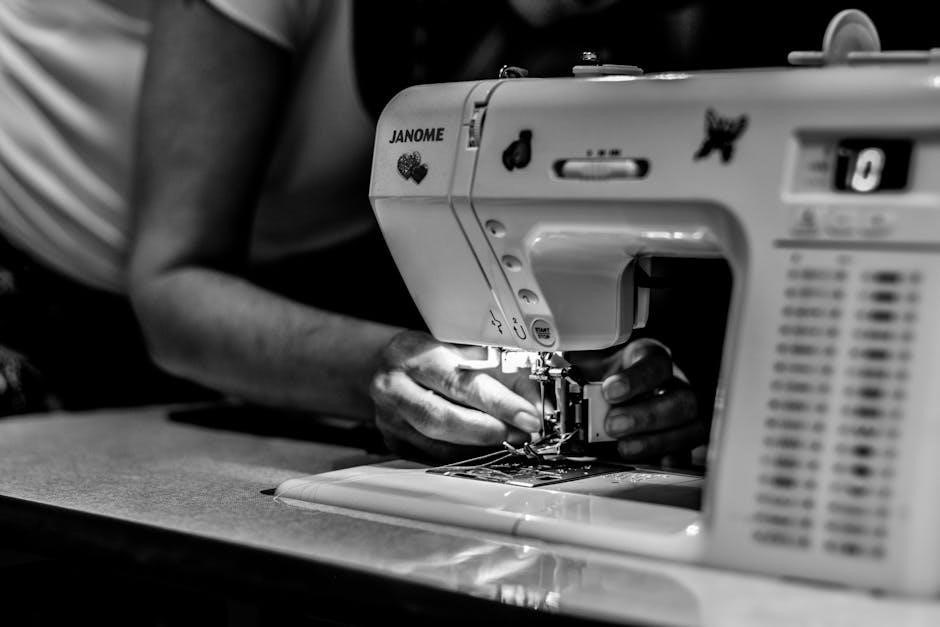
Computerized Sewing Machines
Husqvarna Viking’s computerized sewing machines represent the pinnacle of sewing technology, offering unparalleled precision and automation. These machines utilize microprocessors to control stitch formation, pattern selection, and various other functions. They often feature LCD screens for easy navigation and programmable settings for customized projects.
Accessing the correct Husqvarna Viking 1140 Sewing Machine Manual, or the manual for your specific model, is essential. These manuals detail advanced features like built-in embroidery designs, automatic thread trimming, and connectivity options. Understanding these features unlocks the full potential of your machine, enabling complex and intricate sewing projects with ease and efficiency. Proper manual review ensures optimal performance.
Understanding Your Husqvarna Sewing Machine
Explore the core components – power, bobbin, needle, and stitch selection – to master your Husqvarna machine’s functionality and unlock its full potential.
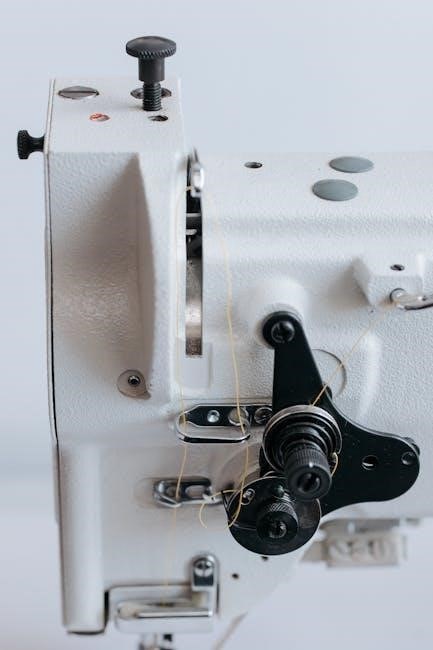
Key Components and Their Functions
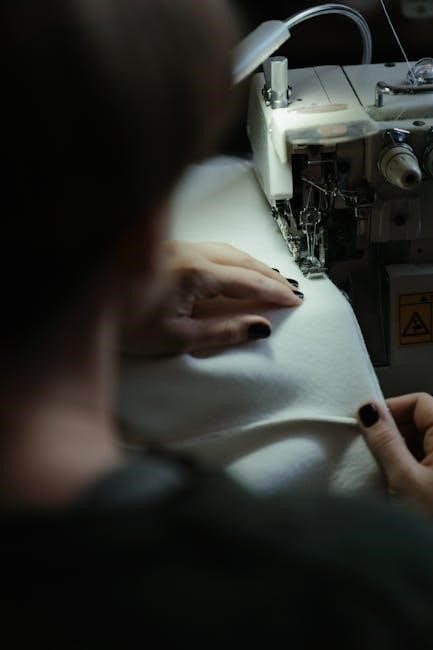
Your Husqvarna sewing machine boasts several key components working in harmony. The power supply and foot pedal control the machine’s speed and operation, providing consistent power for various fabrics. Understanding the bobbin winding and insertion process is crucial for a smooth stitch; proper loading prevents tangles and ensures even thread distribution.
The needle and presser foot mechanisms work together to feed fabric and create stitches, requiring correct needle selection for different materials. Finally, the stitch selection dial/panel allows you to choose from a range of stitch patterns, offering versatility for diverse sewing projects. Familiarizing yourself with each component’s role is essential for efficient and enjoyable sewing.
Power Supply and Foot Pedal
The Husqvarna sewing machine’s power supply ensures stable operation, typically utilizing a standard electrical outlet. Always verify the voltage compatibility before plugging in the machine. The foot pedal acts as the primary speed controller; gentle pressure yields slower stitching, while increased pressure accelerates the process.
Modern machines often feature electronic foot pedals offering precise speed control. A malfunctioning foot pedal can prevent the machine from starting or cause erratic stitching. Regularly check the cord for damage and ensure a secure connection. Understanding the interplay between the power supply and foot pedal is fundamental for consistent and controlled sewing performance.
Bobbin Winding and Insertion
Proper bobbin winding is crucial for consistent stitch quality. Begin by placing the thread spool on the holder and guiding the thread through the designated tension discs. Engage the bobbin winder mechanism, ensuring the thread winds evenly onto the bobbin. Once full, disengage the winder and trim the thread.
Bobbin insertion varies slightly by model, but generally involves placing the bobbin into the bobbin case, guiding the thread through the tension slot, and then inserting the case into the machine. Incorrect insertion can lead to tangled threads and skipped stitches. Always refer to your machine’s specific diagram for accurate placement.
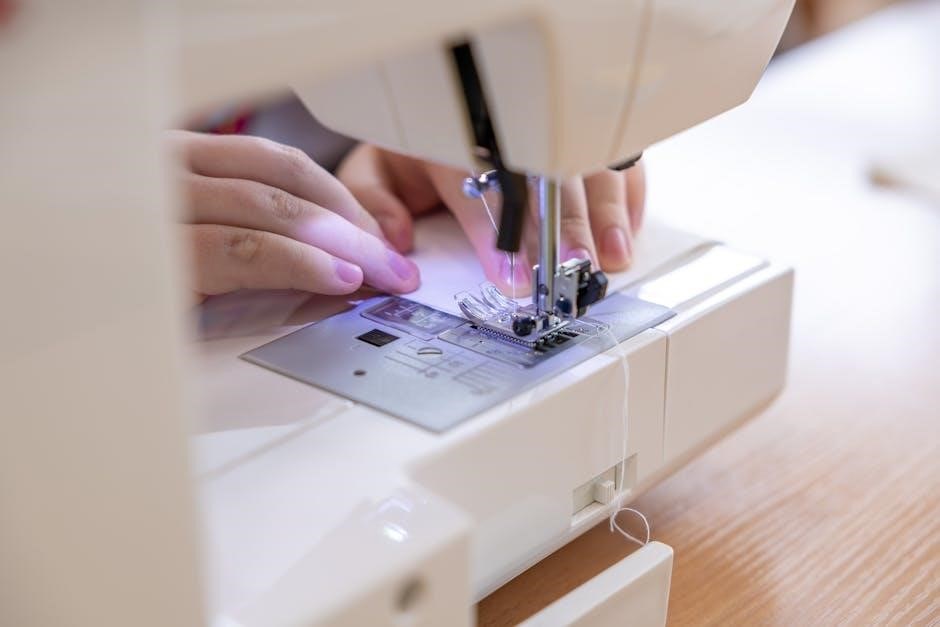
Needle and Presser Foot Mechanisms
The needle mechanism drives the needle up and down, creating stitches. Ensure the needle is correctly inserted – typically with the flat side facing the back. Different needle types suit various fabrics; consult your manual for recommendations. The presser foot holds the fabric in place during sewing.
Presser foot pressure impacts stitch formation. Adjusting this pressure is vital for delicate or thick materials. The mechanism allows for raising and lowering the foot, enabling fabric placement and removal. Proper synchronization between the needle and presser foot ensures even feeding and prevents skipped stitches. Regular checks are essential for smooth operation.
Stitch Selection Dial/Panel
The stitch selection dial or panel is your gateway to diverse sewing possibilities. Older mechanical machines utilize a dial, while electronic and computerized models feature digital panels. These controls allow you to choose from straight stitches, zigzag stitches, buttonholes, and decorative patterns.
Understanding stitch numbers and symbols is crucial. Refer to your machine’s manual for a comprehensive stitch guide. Some machines offer programmable stitch options, letting you customize length and width. Experiment with different stitches on scrap fabric to understand their effects. Proper stitch selection ensures the best results for your project, enhancing both functionality and aesthetics.
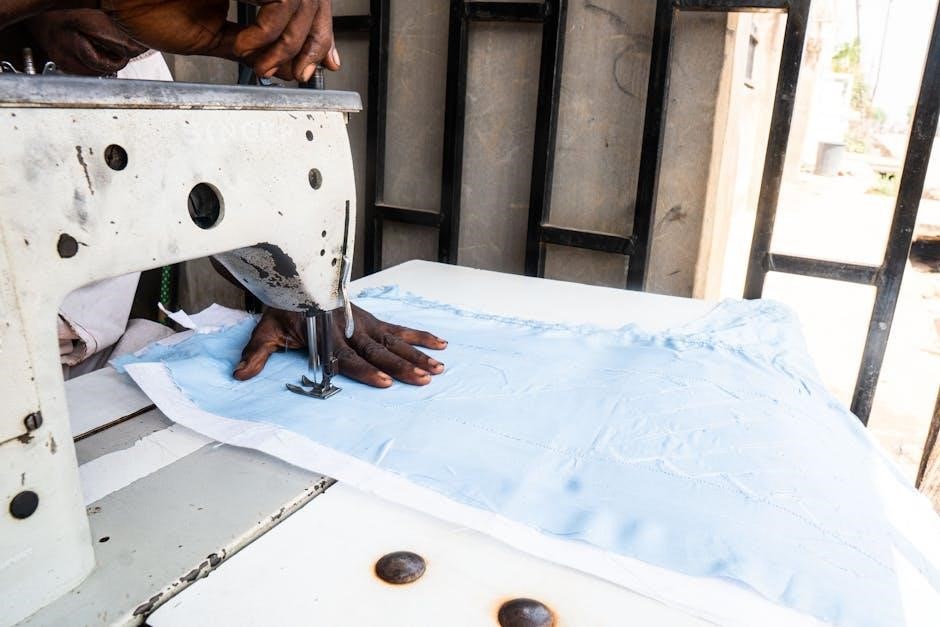
Basic Operation: Getting Started
Embarking on your sewing journey with a Husqvarna requires mastering a few fundamental steps. First, ensure the machine is properly threaded – a process detailed in your manual. Next, learn to wind the bobbin evenly, as consistent tension is vital for quality stitches. Correct bobbin insertion is equally important; consult the diagram in your manual for proper placement.
Finally, select your desired stitch using the dial or panel. Begin with a straight stitch on scrap fabric to test settings. Practice controlling the foot pedal for consistent speed. These initial steps build a foundation for successful sewing, allowing you to confidently tackle your projects.
Threading the Machine
Proper threading is crucial for consistent stitch formation. Begin by raising the presser foot and needle to their highest positions. Guide the thread from the spool, through the first thread guide, and around the tension discs – ensuring it seats firmly between them. Next, follow the numbered diagram in your manual, leading the thread through the take-up lever and then down to the needle.
Always double-check that the thread is correctly seated in all guides and the needle is threaded from front to back; Incorrect threading causes skipped stitches or tension issues. Refer to your specific model’s manual for detailed illustrations and troubleshooting tips related to threading.
Winding the Bobbin
Consistent bobbin winding ensures even stitch quality. Place the thread spool on the spool pin and guide the thread through the designated thread guides for bobbin winding. Attach an empty bobbin to the bobbin winder spindle, ensuring it clicks securely into place. Engage the bobbin winder by pushing it to the right (or following your model’s specific instructions).
Press the foot pedal gently to start winding. Most Husqvarna machines automatically stop when the bobbin is full. Once complete, disengage the bobbin winder and trim the thread. Avoid overfilling the bobbin, as this can cause issues during sewing. Refer to your manual for specific bobbin winding diagrams.
Inserting the Bobbin
Proper bobbin insertion is crucial for smooth sewing. Locate the bobbin case – it’s typically either a front-loading or top-loading system, depending on your Husqvarna model. For front-loading, open the bobbin cover and insert the bobbin with the thread unwinding in the correct direction (consult your manual). Guide the thread through the tension spring and then through the slot in the bobbin case.
For top-loading bobbins, simply drop the bobbin into the bobbin holder, ensuring it sits flat. Draw up a few inches of thread. Close the bobbin cover securely. Always double-check that the thread is correctly engaged with the tension mechanism before starting to sew, preventing potential issues.
Selecting a Stitch
Husqvarna sewing machines offer a diverse range of stitches for various projects. Locate the stitch selection dial or panel – its appearance varies by model, from mechanical dials to digital touchscreens. Rotate the dial or navigate the panel to find your desired stitch. Common stitches include straight stitch, zigzag stitch, and buttonhole stitches.
Refer to your machine’s stitch guide for visual representations and recommended uses for each stitch. Some machines feature programmable stitch options, allowing customization. Ensure the stitch width and length are appropriately set for your fabric and project requirements. Practice on scrap fabric to confirm the selected stitch achieves the desired result before starting your final project.
Advanced Features and Techniques
Explore stitch customization, tension control, and specialized presser feet to unlock your Husqvarna machine’s full potential for intricate and professional sewing results.
Adjusting Stitch Length and Width
Mastering stitch customization is crucial for achieving desired sewing outcomes. Your Husqvarna machine offers precise control over both stitch length and width, typically adjusted via dials or electronic controls. Shorter stitch lengths are ideal for delicate fabrics and reinforcing seams, providing increased durability. Conversely, longer stitch lengths are suitable for basting or gathering fabrics, allowing for easier removal later.
Stitch width adjustments impact the breadth of zigzag or decorative stitches. Narrower widths create denser stitches, while wider widths produce more open patterns. Experimentation is key! Always test stitch settings on scrap fabric mirroring your project material. Refer to your machine’s manual for specific dial markings or digital display values corresponding to desired stitch dimensions. Consistent adjustments ensure professional-looking results and fabric compatibility.
Tension Adjustment
Achieving balanced stitch tension is paramount for quality sewing. Incorrect tension results in looping, puckering, or weak seams. Your Husqvarna machine features upper and lower tension controls, influencing thread interaction. Begin by ensuring proper threading – a common cause of tension issues. If loops form on the underside of the fabric, lower the upper tension. Conversely, if loops appear on the top, increase the upper tension.
Minor adjustments are usually sufficient. Always test on scrap fabric identical to your project material. The goal is a balanced stitch where the top and bobbin threads interlock evenly within the fabric layers. Refer to your manual for specific tension settings recommended for different fabric types and thread weights. Consistent tension guarantees strong, aesthetically pleasing seams.
Using Different Presser Feet
Expanding your Husqvarna’s capabilities requires utilizing specialized presser feet. The standard foot suits general sewing, but others unlock unique techniques. A zigzag foot enables decorative stitching and wider stitch widths, ideal for appliqué and decorative edges. The buttonhole foot automates precise, professional-looking buttonholes, simplifying garment construction. For installing zippers, the zipper foot allows close stitching along the zipper teeth, ensuring a neat finish.
Other available feet include those for blind hems, quilting, and gathering. Changing feet is typically straightforward – release the foot holder screw and snap the new foot into place. Always consult your manual for foot compatibility and recommended settings. Utilizing the correct foot dramatically improves stitch quality and project outcomes.
Zigzag Foot
The Husqvarna zigzag foot is a versatile attachment, expanding beyond simple zigzag stitches. It excels at decorative stitching, allowing for wider stitch widths than the standard foot. This makes it perfect for creating decorative edges, appliqué, and free-motion embroidery. The foot’s design accommodates the side-to-side movement of the needle, crucial for these techniques.
When using a zigzag foot, select a zigzag stitch on your machine and adjust the width and length to your desired effect. Experiment with different settings to achieve varied textures and patterns. It’s also beneficial for sewing stretch fabrics, providing some give during the stitching process. Ensure the foot is securely attached before beginning, and always test on a scrap fabric first.
Buttonhole Foot
The Husqvarna buttonhole foot simplifies creating professional-looking buttonholes. This foot works in conjunction with your machine’s automatic buttonhole function, guiding the fabric for consistent results. It typically features a slot to accommodate buttons of various sizes, ensuring the buttonhole is perfectly sized for each button.
To use, select the buttonhole stitch on your machine and attach the buttonhole foot. Place the button at the back of the foot, aligning it with the slot. The machine will then automatically stitch around the button, creating a neatly finished buttonhole. Always test on a scrap fabric with a similar weight to your project fabric. Proper foot attachment and stitch selection are key for success.
Zipper Foot
The Husqvarna zipper foot is essential for sewing zippers with precision and ease. This foot snaps onto your presser foot shank and features a groove designed to run alongside the zipper teeth, keeping them securely in place while stitching. It allows you to sew close to the zipper coils, creating a professional finish.
To use, attach the zipper foot and position the zipper face down, with the coils aligned with the groove in the foot. Select a straight stitch and carefully guide the fabric, ensuring the needle stays close to the zipper teeth. Different zipper foot variations exist for left and right-side zippers, so choose accordingly. Practice on scrap fabric first to master the technique.
Troubleshooting Common Issues
Resolve frequent problems like power failures, thread breaks, skipped stitches, and bobbin difficulties with our guide, ensuring smooth operation of your Husqvarna machine.
Machine is Not Powering On
If your Husqvarna sewing machine fails to power on, begin with the simplest checks; Ensure the power cord is securely plugged into both the machine and a functioning wall outlet. Test the outlet with another device to confirm it’s providing power.
Next, examine the foot pedal connection. Verify it’s firmly inserted into the designated port on the machine. Try a different foot pedal if available, as the pedal itself could be faulty. Inspect the power switch on the machine; ensure it’s in the ‘on’ position.
For machines with a removable power supply, confirm it’s correctly installed. If issues persist, consult the service manual for your specific Husqvarna model, or contact a qualified technician for assistance. Do not attempt to disassemble the machine yourself.
Thread Breakage Problems
Frequent thread breakage on your Husqvarna sewing machine indicates a few potential issues. First, re-thread the machine completely, ensuring the thread is properly seated in all guides and the tension discs. Incorrect threading is a common cause.
Next, check the needle. A bent, damaged, or incorrect needle size for the fabric can lead to breakage. Replace it with a new, appropriate needle. Verify the thread quality; old or weak thread breaks easily. Adjust the thread tension – too tight or too loose can cause problems.
Also, ensure the bobbin is wound evenly and inserted correctly. Finally, consult your machine’s service manual for specific troubleshooting steps related to thread breakage.
Skipped Stitches
Experiencing skipped stitches with your Husqvarna sewing machine can be frustrating. Begin by verifying the needle is correctly inserted – it should be fully pushed up into the needle clamp. Ensure you’re using the correct needle type and size for your fabric weight; a dull or damaged needle is a frequent culprit, so replace it.
Check the threading, confirming the thread is properly seated in the tension discs and all guides. Incorrect threading disrupts the stitch formation. Adjust the presser foot pressure; too much or too little pressure can cause skipped stitches.
Also, examine the bobbin – ensure it’s wound evenly and inserted correctly. Refer to your service manual for detailed diagrams and troubleshooting specific to your model.
Bobbin Issues
Bobbin problems are common with Husqvarna sewing machines. If the bobbin thread keeps jamming, ensure the bobbin is wound evenly and not too tightly. An unevenly wound bobbin can cause inconsistent tension and tangling. Verify the bobbin case is clean and free of lint or debris; a clogged bobbin case hinders smooth operation.
Correct bobbin insertion is crucial. Consult your manual for the proper orientation and seating of the bobbin within the case. If the thread consistently breaks near the bobbin, check the tension settings – too much tension can strain the thread.
A damaged bobbin case can also cause issues; inspect it for any bends or imperfections. Refer to service manuals for detailed diagrams.
Maintenance and Care
Prolong your machine’s life with regular cleaning, lubrication, and servicing, ensuring optimal performance and preventing issues – store it properly when not in use.
Cleaning Your Husqvarna Sewing Machine
Regular cleaning is crucial for maintaining your Husqvarna sewing machine’s performance and longevity. Before any cleaning, always disconnect the power supply to prevent accidental operation. Begin by removing the needle, presser foot, and bobbin case. Use a soft brush – often included with your machine – to remove lint and dust from the bobbin area, feed dogs, and surrounding components;
For more stubborn debris, a lint roller can be incredibly effective. Gently wipe down the exterior surfaces with a slightly damp cloth; avoid harsh chemicals or abrasive cleaners, as these can damage the finish. Pay particular attention to areas where oil accumulates. A small amount of sewing machine oil can be applied to a cloth and used to wipe away grime. Remember to clean around the stitch plates and under the presser foot shank. Consistent cleaning prevents build-up that can cause malfunctions and ensures smooth operation.
Lubrication
Proper lubrication is vital for the smooth operation of your Husqvarna sewing machine, reducing friction and preventing wear. Only use sewing machine oil specifically designed for this purpose; other oils can gum up the mechanism. Consult your machine’s manual for designated oiling points – typically found in the bobbin area, around the motor, and on moving parts like the needle bar.
Apply oil sparingly, using a needle oiler for precise application. Avoid over-oiling, as excess oil attracts dust and lint. After oiling, run the machine briefly to distribute the lubricant. Regularly check oil levels and reapply as needed, especially after extensive use or servicing. Consistent lubrication extends the life of your machine and ensures consistent stitch quality. Remember to wipe away any excess oil to prevent staining fabric.
Regular Servicing
To maintain peak performance, schedule regular servicing for your Husqvarna sewing machine, ideally annually or after 200 hours of use. A qualified technician can thoroughly inspect, clean, and adjust internal components, ensuring optimal functionality. Servicing includes checking and replacing worn parts like belts, needles, and bobbins, as well as lubricating all moving parts.
Professional servicing addresses issues not easily resolved with routine maintenance, preventing minor problems from escalating into costly repairs. Keep records of all servicing performed, including dates and work completed. Following a regular servicing schedule extends the lifespan of your machine, preserves stitch quality, and guarantees reliable operation for years to come. Don’t neglect this crucial aspect of machine care!
Storage Recommendations
Proper storage is vital for protecting your Husqvarna sewing machine from dust, damage, and environmental factors. Always cover the machine with a dust cover when not in use, even for short periods. Store it in a cool, dry place, away from direct sunlight and extreme temperatures. Avoid storing in damp basements or humid attics.
Before long-term storage, thoroughly clean and lubricate the machine as outlined in the maintenance section. Remove the bobbin and needle to prevent corrosion. Secure the power cord and foot pedal to avoid tangling or damage. Consider storing the machine in its original packaging for added protection. Careful storage ensures your Husqvarna remains in excellent condition, ready for your next project.